Purchasing a new condo comes with its own set of expenses, particularly within the first 5 to 10 years of ownership. On the other hand, an outdated condo may demand expensive renovations and the replacement of worn-out systems, resulting in a higher total investment.
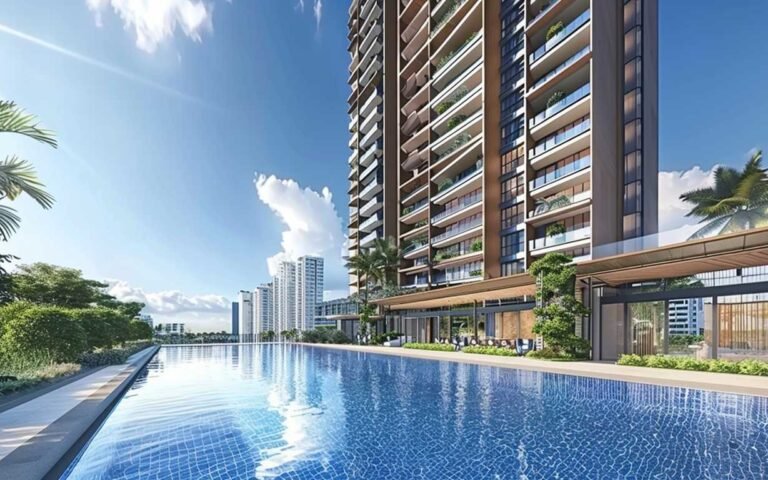
Resale condos also have the added benefit of having all facilities and amenities in place. This means that buyers can enjoy the use of facilities such as swimming pools, gyms, and BBQ pits immediately, without having to wait for the completion of construction. This could be a significant advantage for buyers who place high importance on having these facilities in their living environment.
In contrast, new launch condos often come with standard layouts and designs, leaving little room for customization.
With Singapore’s thriving condo market constantly expanding, resale condos have become a popular choice among buyers. These units, which have previously been occupied, offer a range …